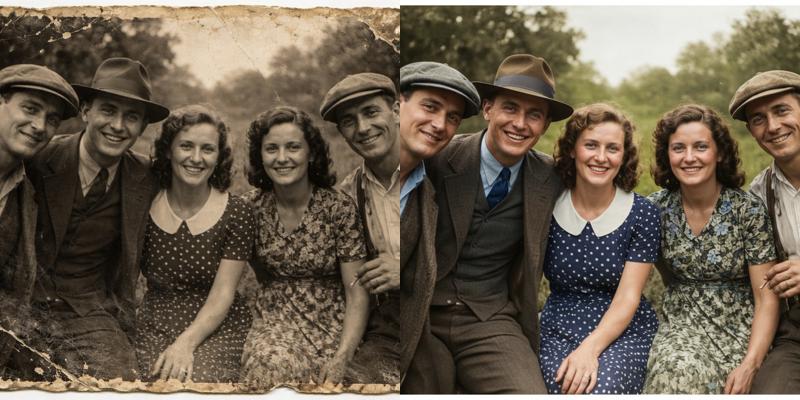
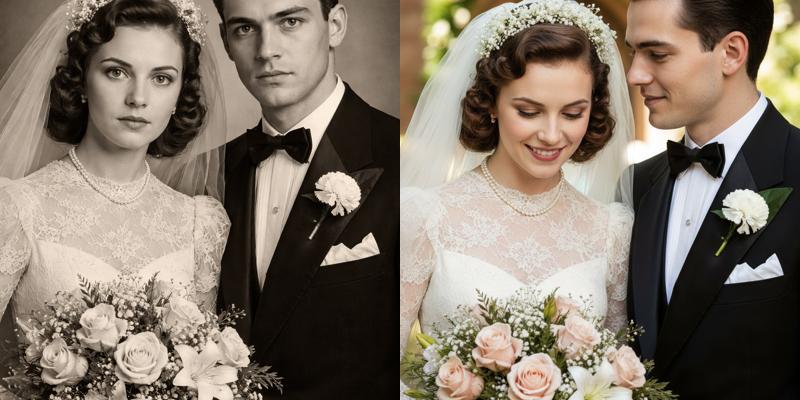
Colorize this black and white photo realistically, restore any scratches, tears, or fading, enhance clarity and sharpness. Keep the original composition and subjects intact.
Restore this old photo by adding natural colors, fixing blemishes and dust spots, improving contrast and details in faces and clothing. Make it look like a modern high-resolution scan.
Convert this grayscale vintage photo to full color, repair any creases or discoloration, sharpen edges, and balance lighting for a restored antique look.
Enhance and colorize this damaged black and white family portrait, remove stains and artifacts, add subtle warmth to skin tones. Preserve the historical feel.
Sample Before & After
Transform this photo into a studio-quality headshot with a neutral gray background, enhance lighting and skin tones, make the subject wear formal business attire like a suit and tie. Keep facial features natural.
Convert this generic image to a professional headshot: Add a clean studio backdrop, improve sharpness and colors, optionally dress the person in elegant formal clothing. Ensure high resolution and even lighting.
Create a studio-style portrait from this image, replace background with a soft white studio setting, enhance facial details, and change casual clothes to business formal wear.
Sample Before & After

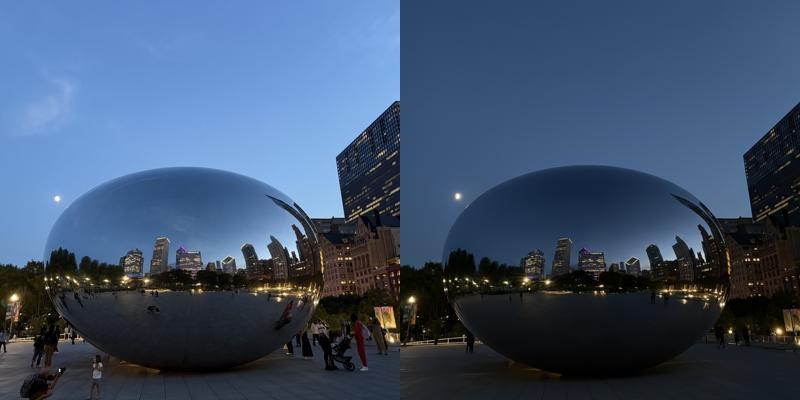
Enhance this photo overall: Increase brightness and contrast, sharpen details, reduce noise, and balance colors for a vibrant, high-quality result. Keep everything natural.
Perform general enhancement on this image: Fix lighting issues, improve clarity and saturation, remove minor imperfections like red-eye or blur. Make it look professional.
Upscale and enhance this photo: Boost resolution, correct exposure, enhance colors and details without over-editing.
Sample Before & After
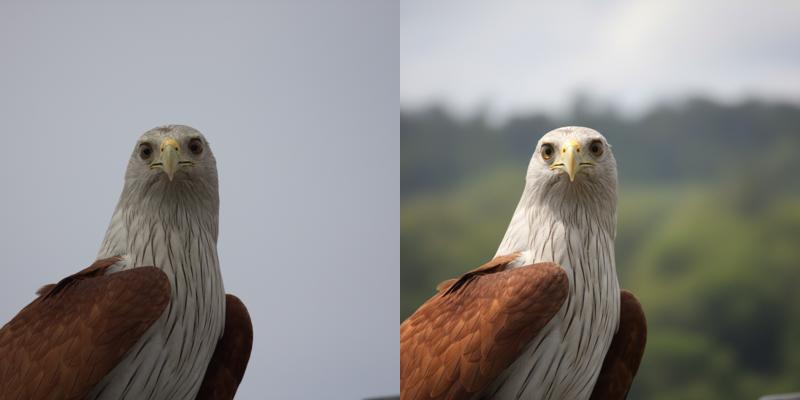
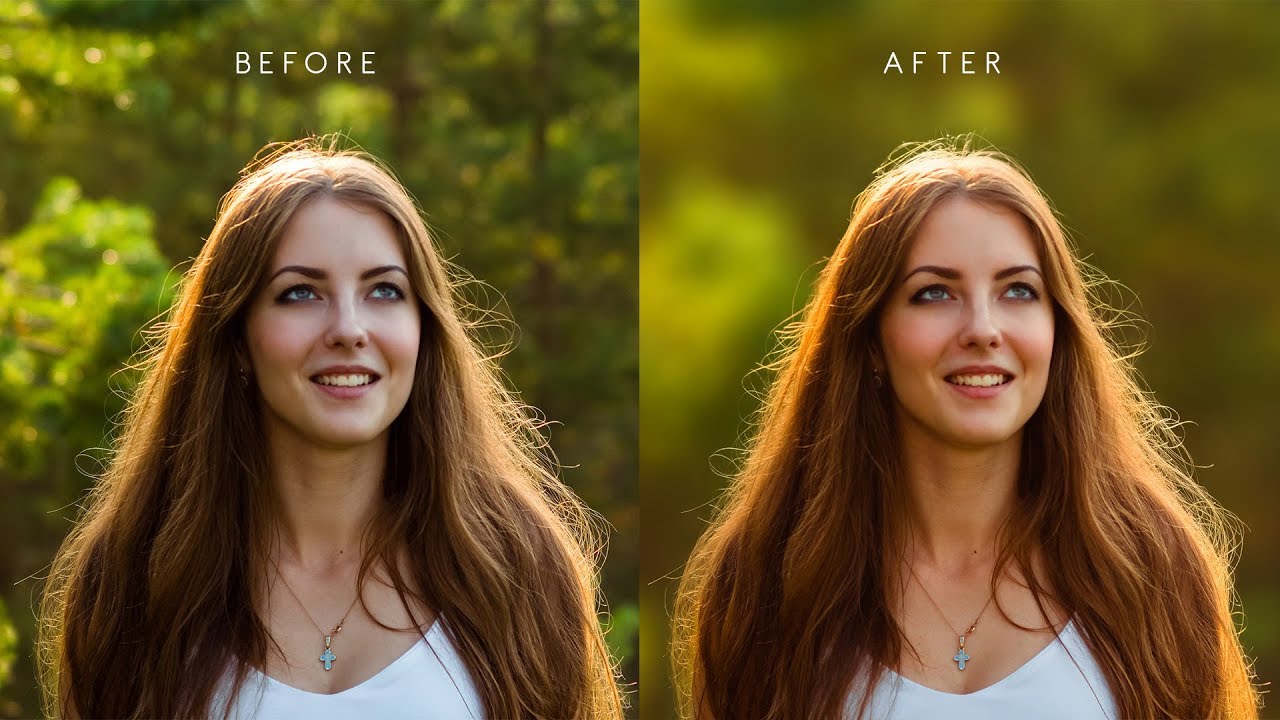
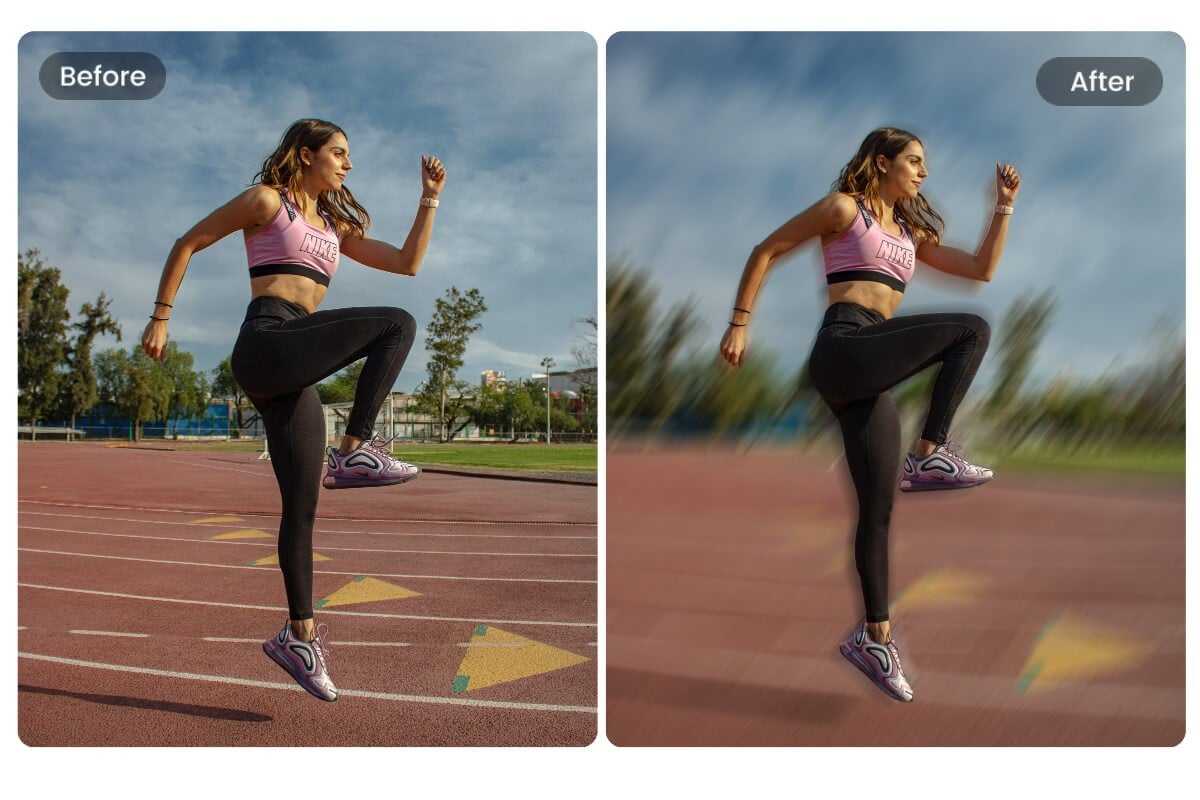
Blur the background to create a bokeh effect, keep the main subject sharp and in focus. Make the blur natural and subtle.
Change the background to a solid color like white, blur any remaining elements, and ensure the foreground subject remains unchanged and crisp.
Apply a strong background blur to emphasize the subject, remove distractions, and adjust for depth of field like a professional camera shot.
Sample Before & After
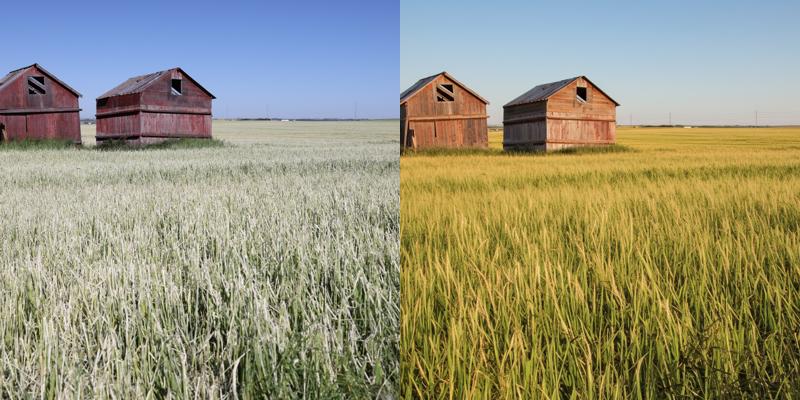
Convert this color photo to black and white, enhance contrast and details for a classic monochrome look.
Change this image to sepia tone, add a vintage warm brown filter, adjust brightness for an old-fashioned effect.
Apply a cool blue tone to this photo, desaturate colors slightly for a cinematic feel. Keep details sharp.
Sample Before & After


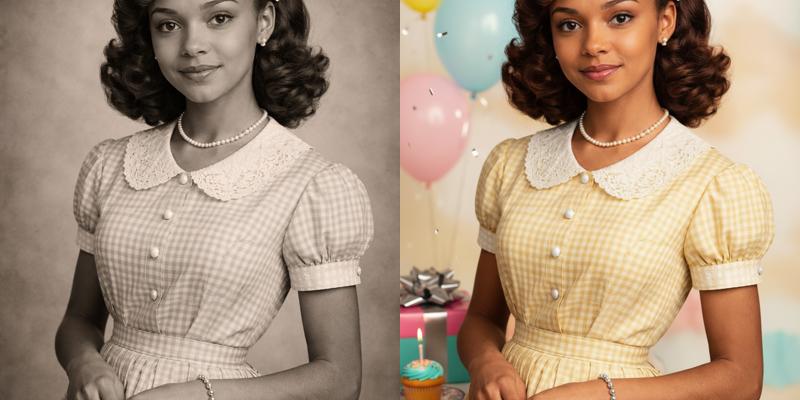
Add a birthday theme: Include colorful balloons, a cake, and 'Happy Birthday' banner in the background, keep the original subjects happy and central.
Enhance with a Christmas theme: Add festive lights, a tree, snowflakes, and holiday decorations around the scene. Make it warm and joyful.
Apply a Halloween theme: Incorporate pumpkins, ghosts, and spooky elements subtly, change lighting to eerie tones.
Sample Before & After (Birthday Theme Example)

Remove unwanted objects like the background clutter, keep the main subject intact and fill in naturally.
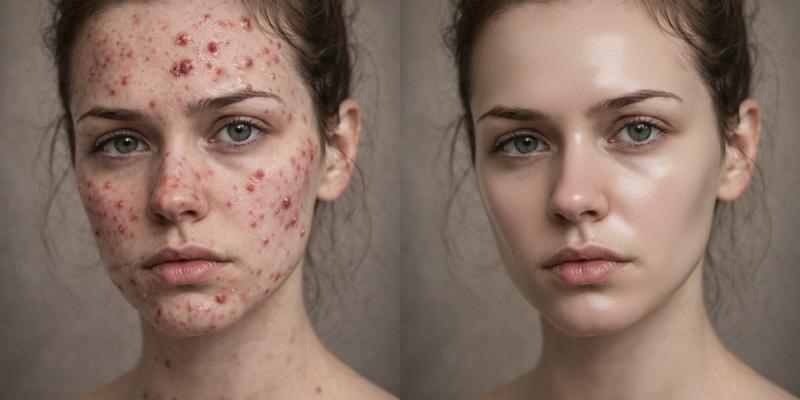
Enhance facial features subtly, smooth skin, brighten eyes, and whiten teeth for a natural glow-up.
Upscale this photo to 4K resolution, enhance details and reduce any pixelation.
Add watermark text 'Nuvio Edited' in the bottom right corner, make it semi-transparent and stylish.
Sample Before & After